
DM: DGM
Characters: Cynder, Lyric, Tuwidin, Tar, Abu, Kurl
Once more into the breach, my friends! This is the tale of my latest adventure, and the trials of returning to town when you forget your portal stones.
Our group set off along the road east of Ruined Oak, in hopes of catching the Crystal Maiden before she moved her operation to Trader’s Bay. We reached the spot without any troubles, and to our surprise the Tower was still there.
Part 1: The Crystal Tower
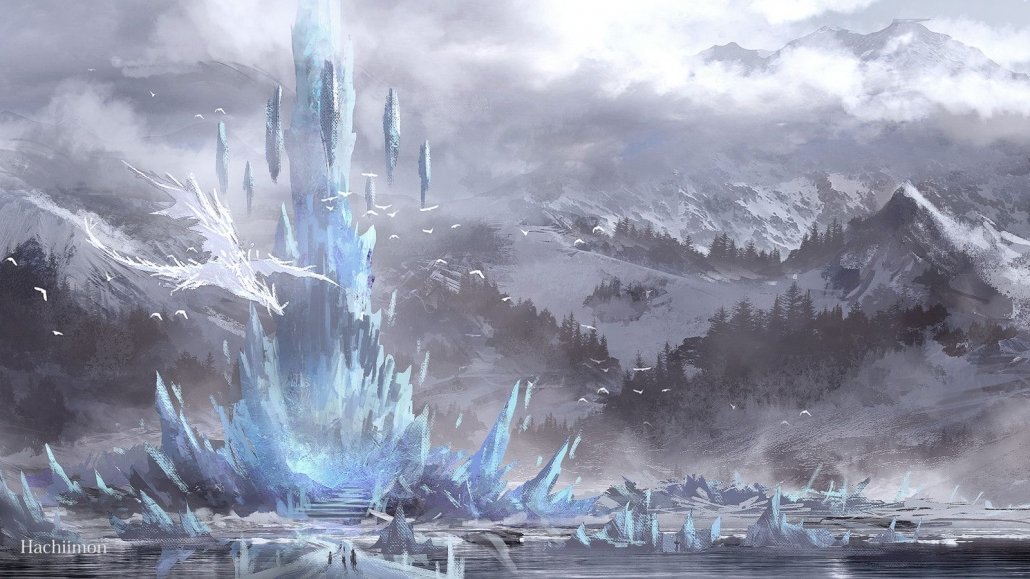
The Tower was pulsing with a strange energy, light running along its surface and up into the clouds. Our best guess was that they were gathering magical energy in order to prepare for teleportation.
We entered the Tower through the usual false wall, making our way to the doorbell statue and waiting for Igor. Unfortunately, he must have been busy preparing, because no one came to fetch us.

Kurl and Cynder went through the next portal and found Igor, who told us to go to the garden and wait for them to finish their preparations. We followed a small stone and crystal construct that we dubbed “Autotune”, who helped us to find the garden and answered our questions regarding the tower and the museum within.
In the garden, we met a group of sentient trees who were traveling with the Tower. They were similar to treeants, although stationary. It seems that the Maiden allows creatures to take up temporary residence within the Tower if they pay a proper tribute.

We waited as the pulsing light got quicker and quicker, and finally Autotune told us to hold onto something. The tower began moving, jumping through space. The feeling was similar to a Teleport spell or moving through a portal, but it happened many more times. In total, the Tower moved between 12 and 13 times.
The Maiden met with us after the teleportation had completed, and we discussed the information we had gathered regarding the monolith (detailed here and here). In return for the information, which she was impressed by, she gave us a reward of both money and two small crystalline assistants.
From there, we said our goodbyes and set off into the city to explore.
Part 2: Trader’s Bay

Trader’s Bay Rules
- What happens in Trader’s Bay, stays in Trader’s Bay.
- Unsanctioned killing will be punished by death.
- The use of Magic is prohibited in the port, except where expressly posted that it is allowed. Offenders will be apprehended and dealt with accordingly.
- This is a place to make money and enjoy yourselves! Thus, any qualms you have with anyone you see within Trader’s Bay, stays outside.
- Trader’s Bay is a place for the people. If you are found to be causing issues within Trader’s Bay, you will be temporarily or permanently removed.
Upon reaching the Bay, we realized something very, very important: We had no portal stones to return to White Moon Cove.
After panicking for a while, we decided to try and purchase passage back around the island on ship. We spoke at length with a dragonborn captain who told us that sailing all the way around the island would likely take months. And that there were dangers along the way that would make the journey potentially incredibly deadly.
Crestfallen, we decided to group up at a tavern and discuss our options. We came up with three choices: buy passage on the dragonborn ship, attempt to fly across the land, or return to the Crystal Tower and beg help from the Maiden.
We decided on the walk of shame, and made our way back to the Tower on the outskirts of the Bay.
Part 3: Returning Home

We returned to the Crystal Tower, and shamefully told the Maiden about our predicament. After some negotiation, she offered one of her assistants to help us Teleport our way back to Shashotep. Thankfully the information we had provided about the Obelisk was enough for her, and we did not need to pay tribute.
With the help of Walnut, a self-absorbed very powerful mage, we teleported away from Trader’s Bay. Our mousey friend was able to cast the spell twice, and then we found ourselves in a forest with massive trees.
We began to rest for the day, but were interrupted by the sound of screaming in the distance. I used my Wildshape ability to scout ahead as a Giant Eagle, and found a fiendish creature slaying a large number of fleeing people. Despite the possible danger, I convinced the party to engage the fiend.

The ensuing battle was long and bloody, and there were many moments that I thought I had led the group to their deaths. However, through the use of Polymorph and Abu’s Spirit Guardians, we were able to emerge victorious! Once slain, the fiend was reduced to ash, and we were able to rest for the night with no other incidents.
We continued our trip across the Island, teleporting twice each day for nearly a week. There were a few incidents along the way, but overall the journey was uneventful and we found ourselves in Shashotep.
Thankfully, I had thought to bring my Helm of Comprehending Languages, allowing us to communicate with the Khenra of the city to a limited degree. We found our way to the lady Letia and she instructed that we be brought to the portal. From there, we returned to Ruined Oak.
Lesson learned: ALWAYS bring portal stones on your adventures. Especially when going to visit a mage.
Information About the Island
- 12 or 13 teleports from the previous position of the Crystal Tower to Trader’s Bay
- Approximately 1000 miles from Trader’s Bay to the northern shore of the island
- No defined “tip” of the island, far more dangerous than the southern route
- Approximately 2500 miles from Trader’s Bay to the southern shore of the island
- Southern area controlled by some sort of semi-hostile group, sailors from Trader’s Bay avoid the area
- 7 days worth of Teleport spells, twice a day, from Trader’s Bay to Shashotep